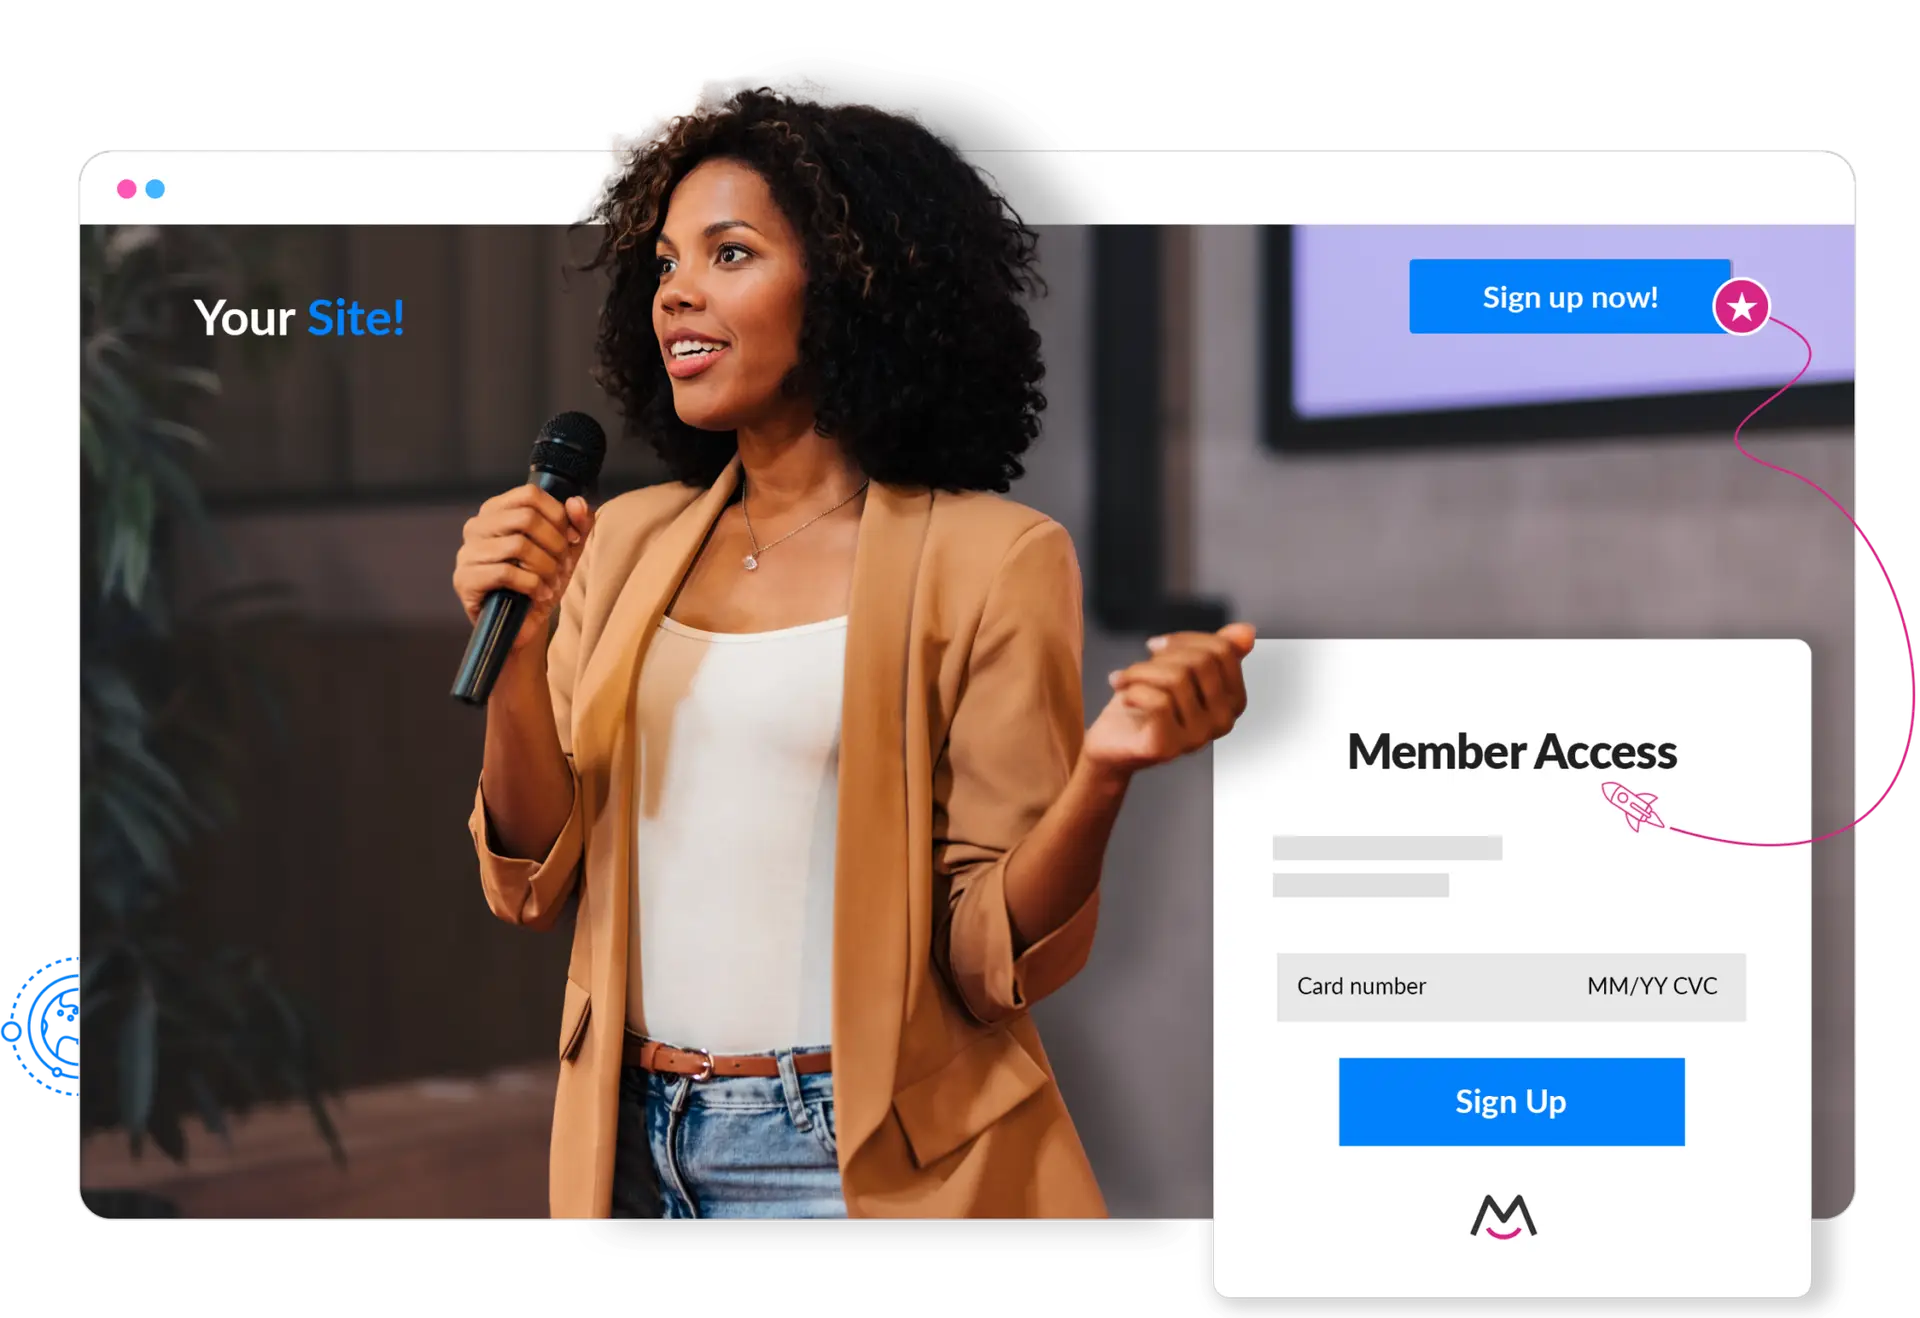
Hosting events is a great way to connect people and cultivate relationships — while also building awareness around your brand! Organize public or member-only events, free or paid.
Boost sales to in-person or virtual events using MemberSpace’s flexible and powerful features:
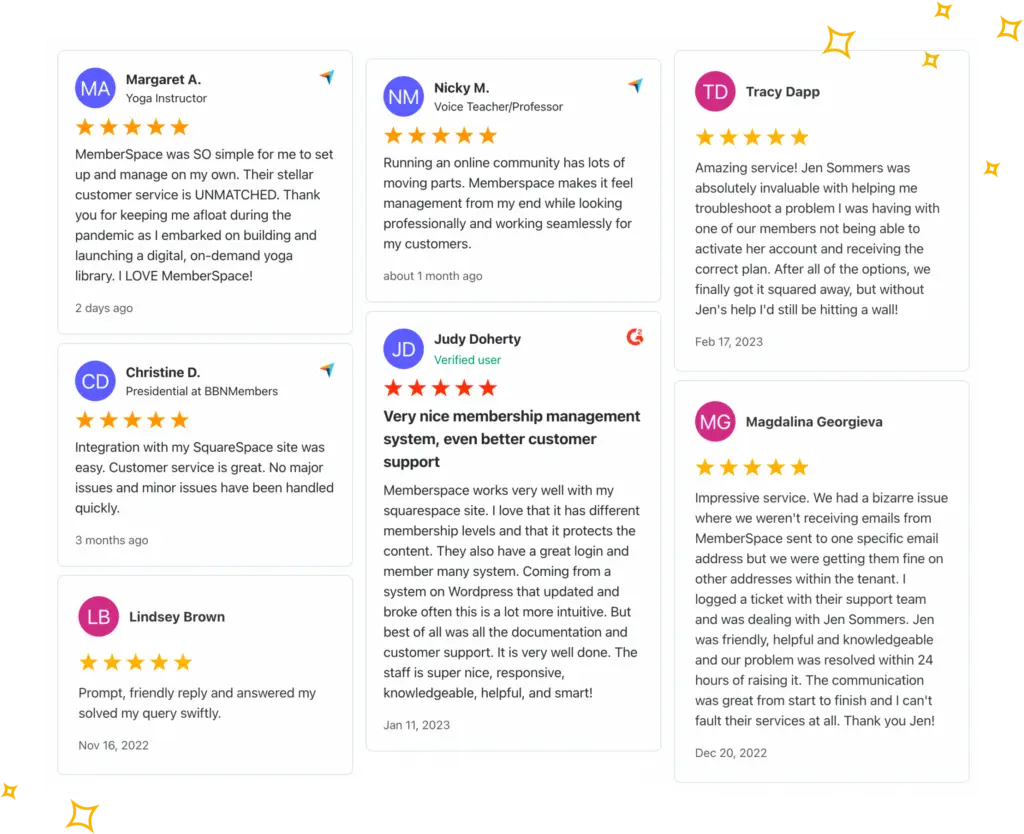
Creators love MemberSpace. Read reviews from happy customers.
Tia S.
I have been researching and using online course platforms for the past year and just settled on something to get me started. But, I was so excited when I stumbled across MemberSpace. It offers just what I was looking for!
Rusty J.
It's very easy to use and set up with minimal explanation. It's easy for a do-it-yourself kind of person.
Blair M.
Our company definitely has some unique challenges to overcome, and the team at MemberSpace has been extremely helpful in the problem-solving process!
Tess B.
I love having control/ownership of my course content. The ability to host a course on my own site is fantastic.
Bella F.
Simplicity and the fast, hands-on help I get.
Lindsey B.
Prompt, friendly reply and solved my query swiftly.
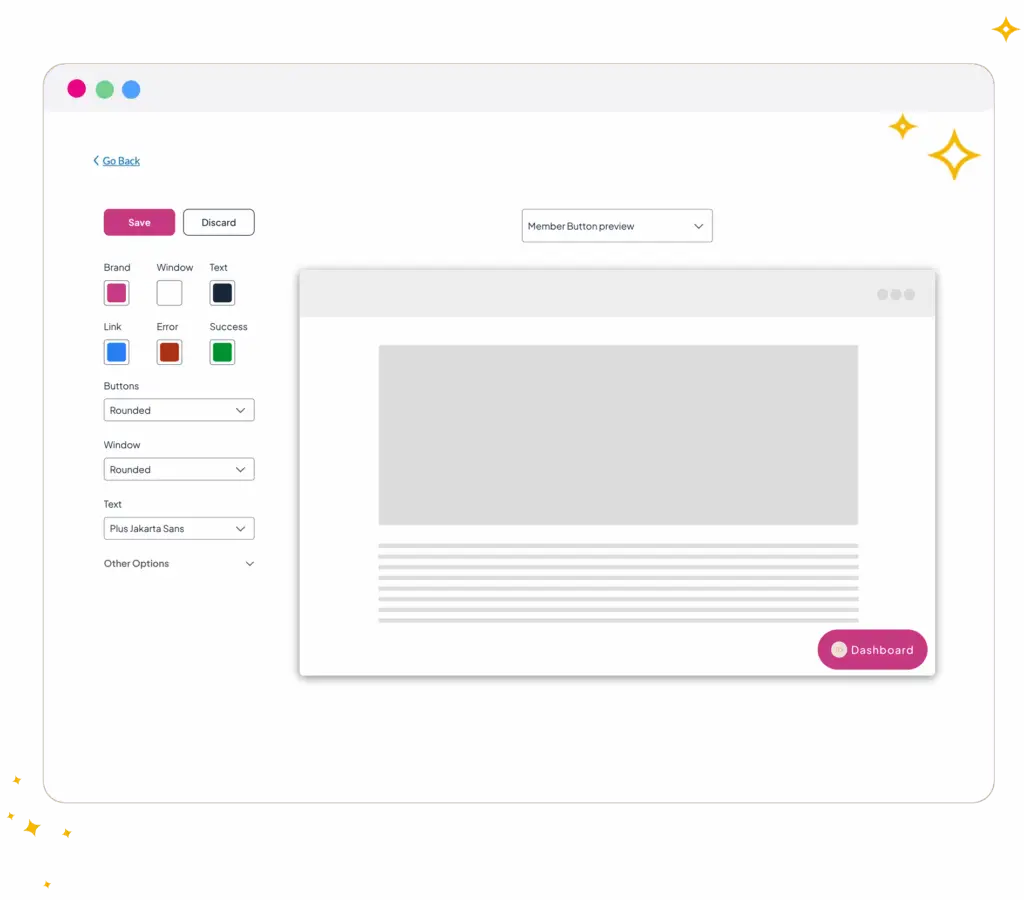
Manage your membership and events in the same place. MemberSpace includes everything you need to launch, build and grow your membership business on any platform.
No coding required.
You shouldn’t need to hire a developer or have technical skills to build and run a membership site. MemberSpace is a simple solution for non-technical people.
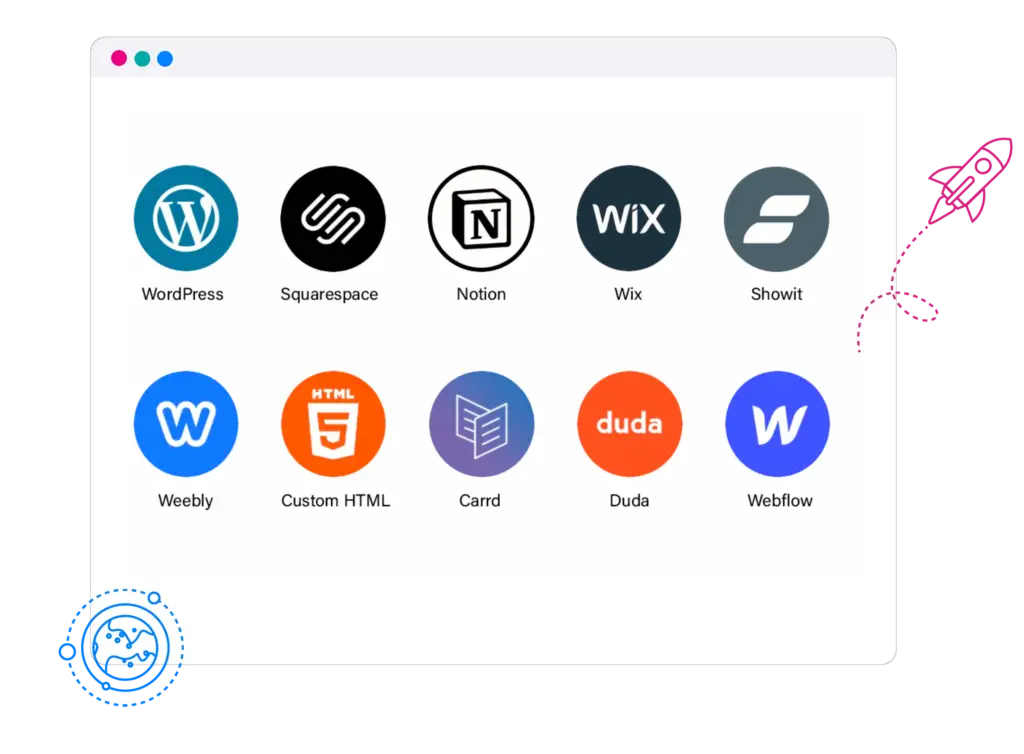
Your website, any platform.
MemberSpace works with all popular website builders. Add MemberSpace directly to your site, and easily move to a different website platform without impacting your members or billing details. See the website platforms we integrate with.
Customer service is our top priority.
We help grow your membership with friendly VIP support. Connect with our team for any tech or strategy questions and get a quick, helpful response. But don’t just take our word for it, read our excellent G2, Trustpilot, Capterra, and other MemberSpace reviews.
Migrate for free.
Migrating your membership to different software can seem like a daunting task. We make it easy, simple, and painless. So if you have an existing membership system, we’ll help you migrate to MemberSpace for free. Learn more about migrating to MemberSpace.