
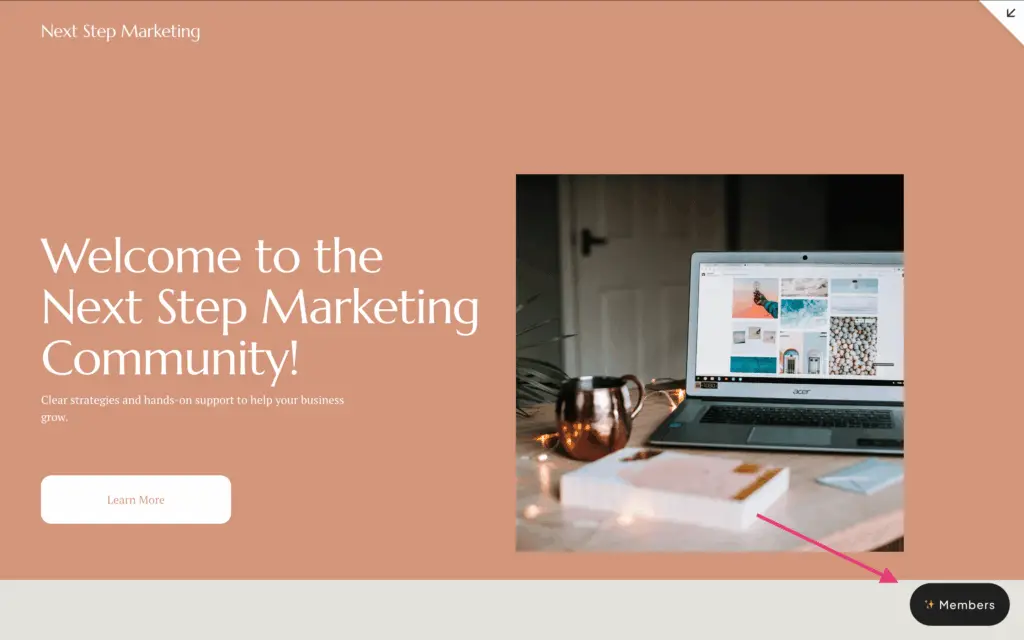
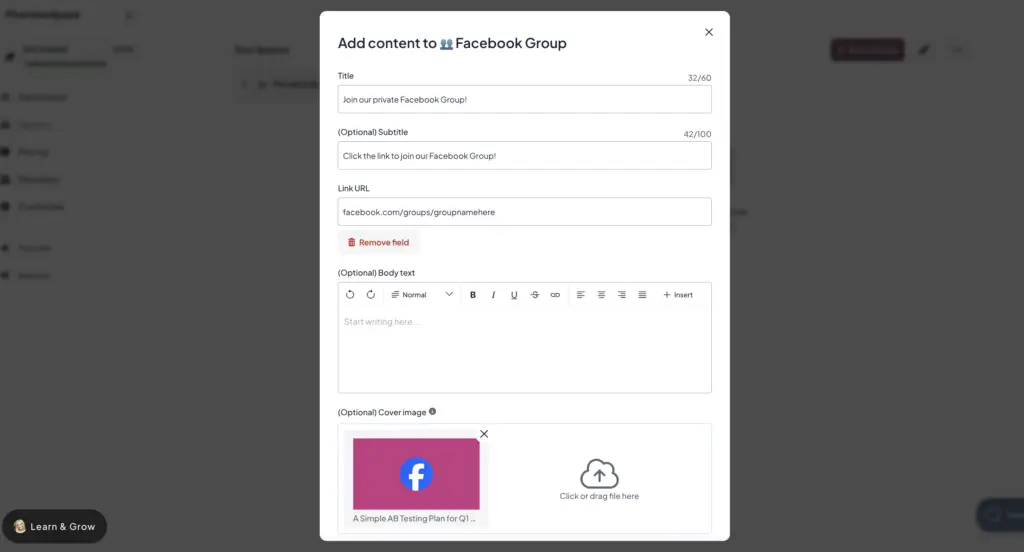
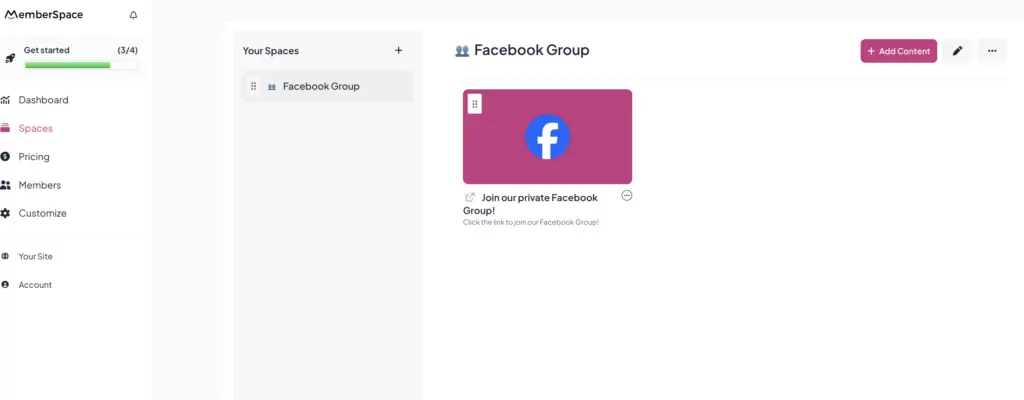

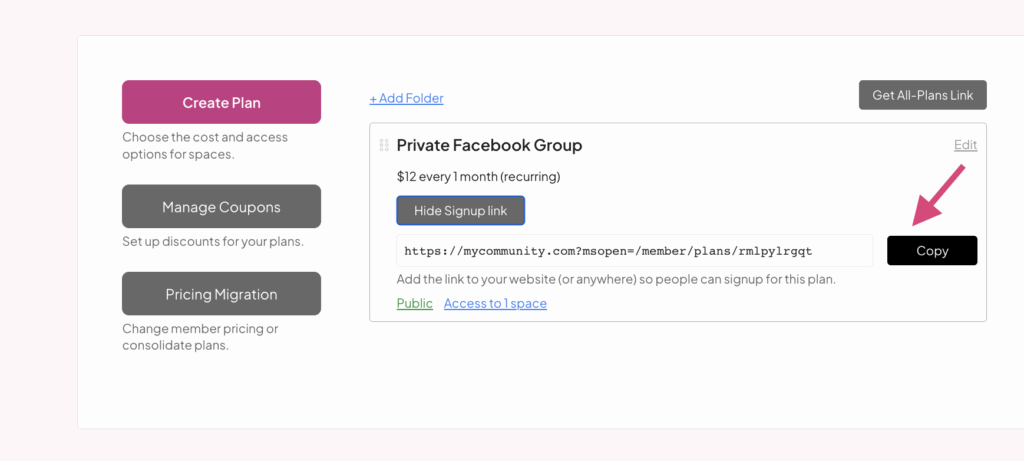
Step 5: Add your signup link to your website
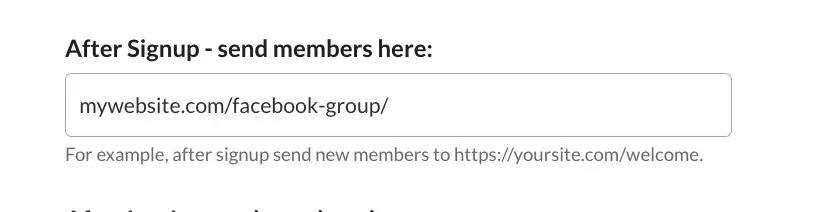
Once you’ve created pricing your pricing plan, grab the Signup link from your plan and add it anywhere you’d like people to be able to join your paid group – CTA buttons on your website, in your social media bios, in email campaigns, etc. When someone clicks the link, they will sign up and pay for access to your group and then get access to the group URL.
There are a few other ways to share your group with new members, as well:

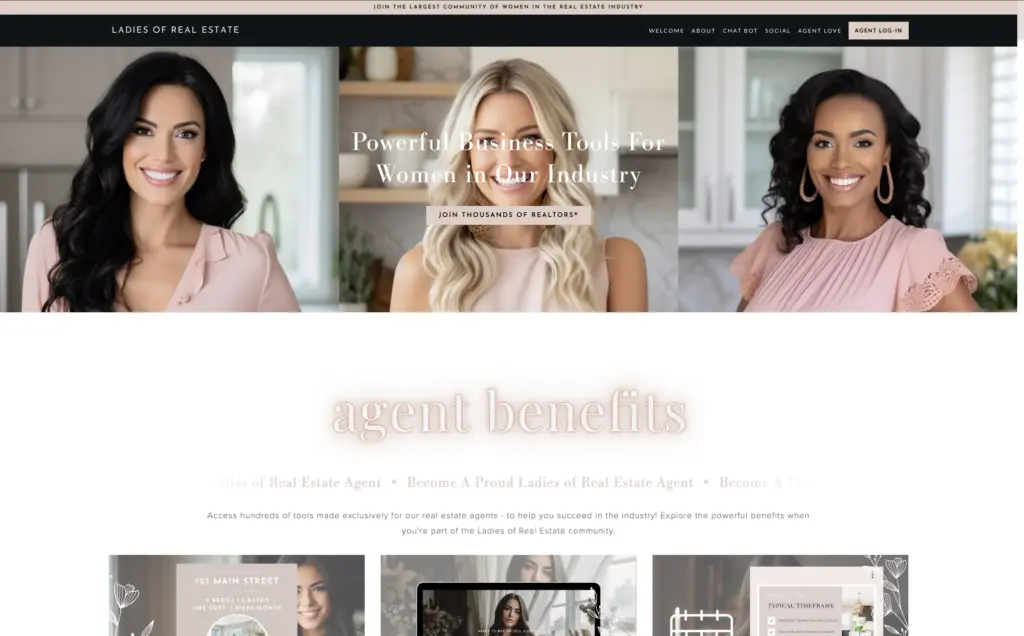
Example: How Linda Monetized a Free Facebook Group
Let’s talk about someone who’s actually done this successfully. Linda started Ladies of Real Estate because she saw a gap in the industry — while 65% of real estate agents were women, most resources were geared toward men. So, she created a Facebook group just for female agents to connect, learn, and get marketing support.
But she didn’t just sit back and wait for people to join — she made things happen. Here’s what she did:
- She offered a free Facebook cover design to members who invited 50 friends. This one really paid off. Some people ended up inviting way more than 50!
- She consistently posted valuable, free social media graphics to keep engagement high.
- She used the free group as a funnel to promote her paid membership, which provided even more exclusive content.
And the result? Within a week of launching her paid membership, she had hundreds of paying members. Today, her group is the largest community of women in the real estate industry and continues to grow, proving that a well-structured Facebook group can turn into a serious business.