

How to start an online yoga business
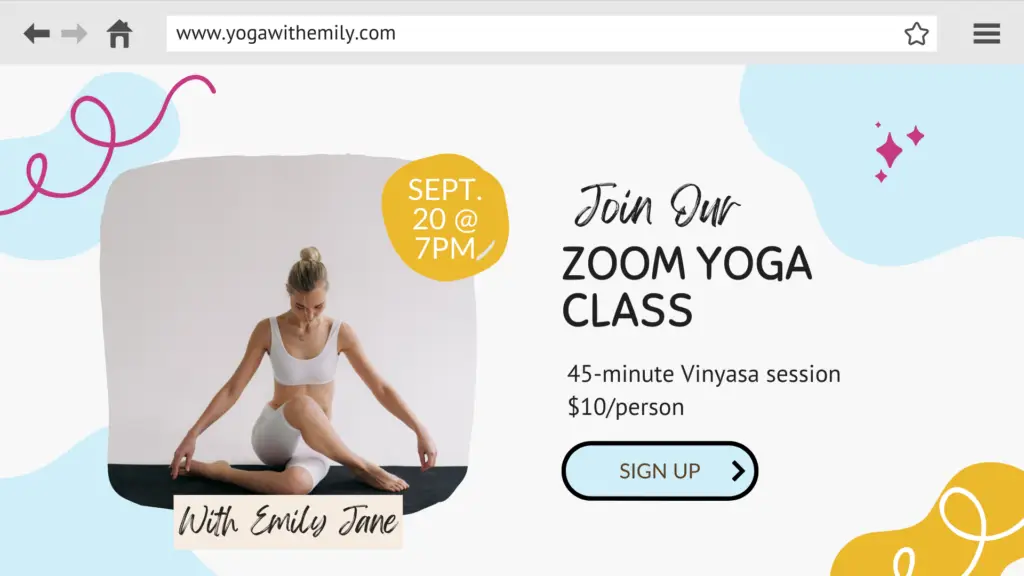
Step 1: Launch a one-page website
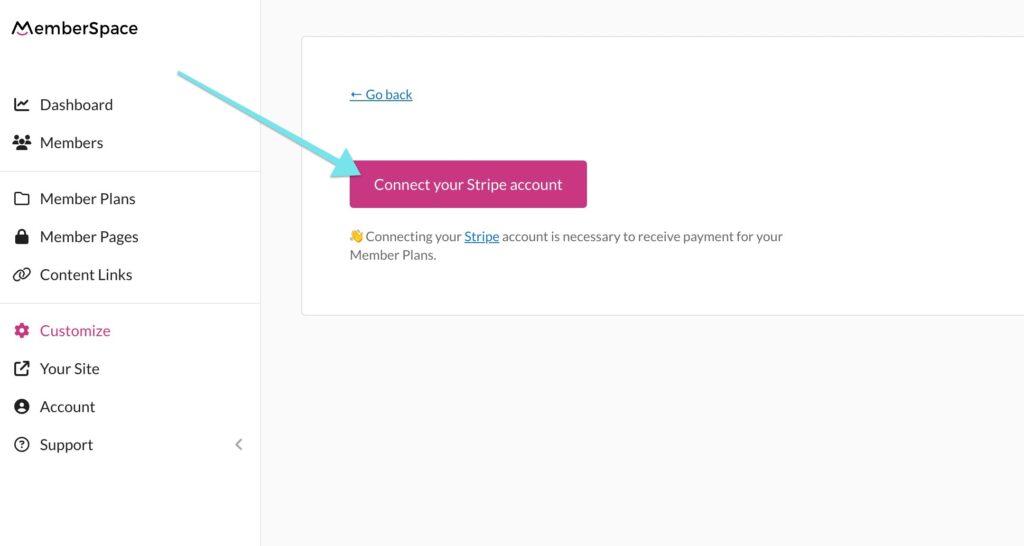
Step 2: Set up your payment method
Once you have your website launched, it’s time to focus on how you will accept payments for your yoga classes. MemberSpace’s built-in Stripe integration makes this process straight forward, allowing you to get paid and securely take payments from your customers using all major credit cards.
Simply sign up for your free MemberSpace account and click “Connect your Stripe account.” From there, you can either login to your existing Stripe account or create a new one for free.
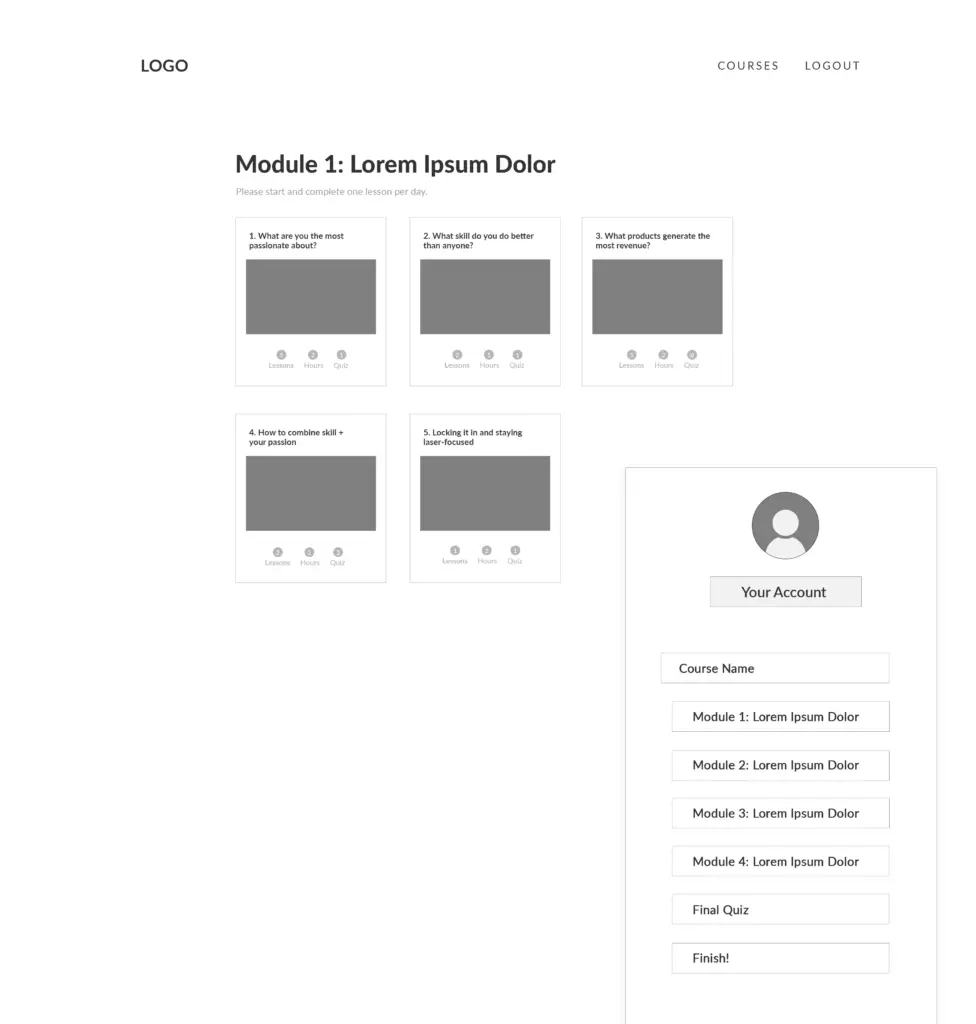
Step 3: Restrict access to your yoga classes
Now, let’s talk about how to add your yoga classes to your new website and restrict access to them. MemberSpace makes it easy to do this, so only paying customers can view your classes.
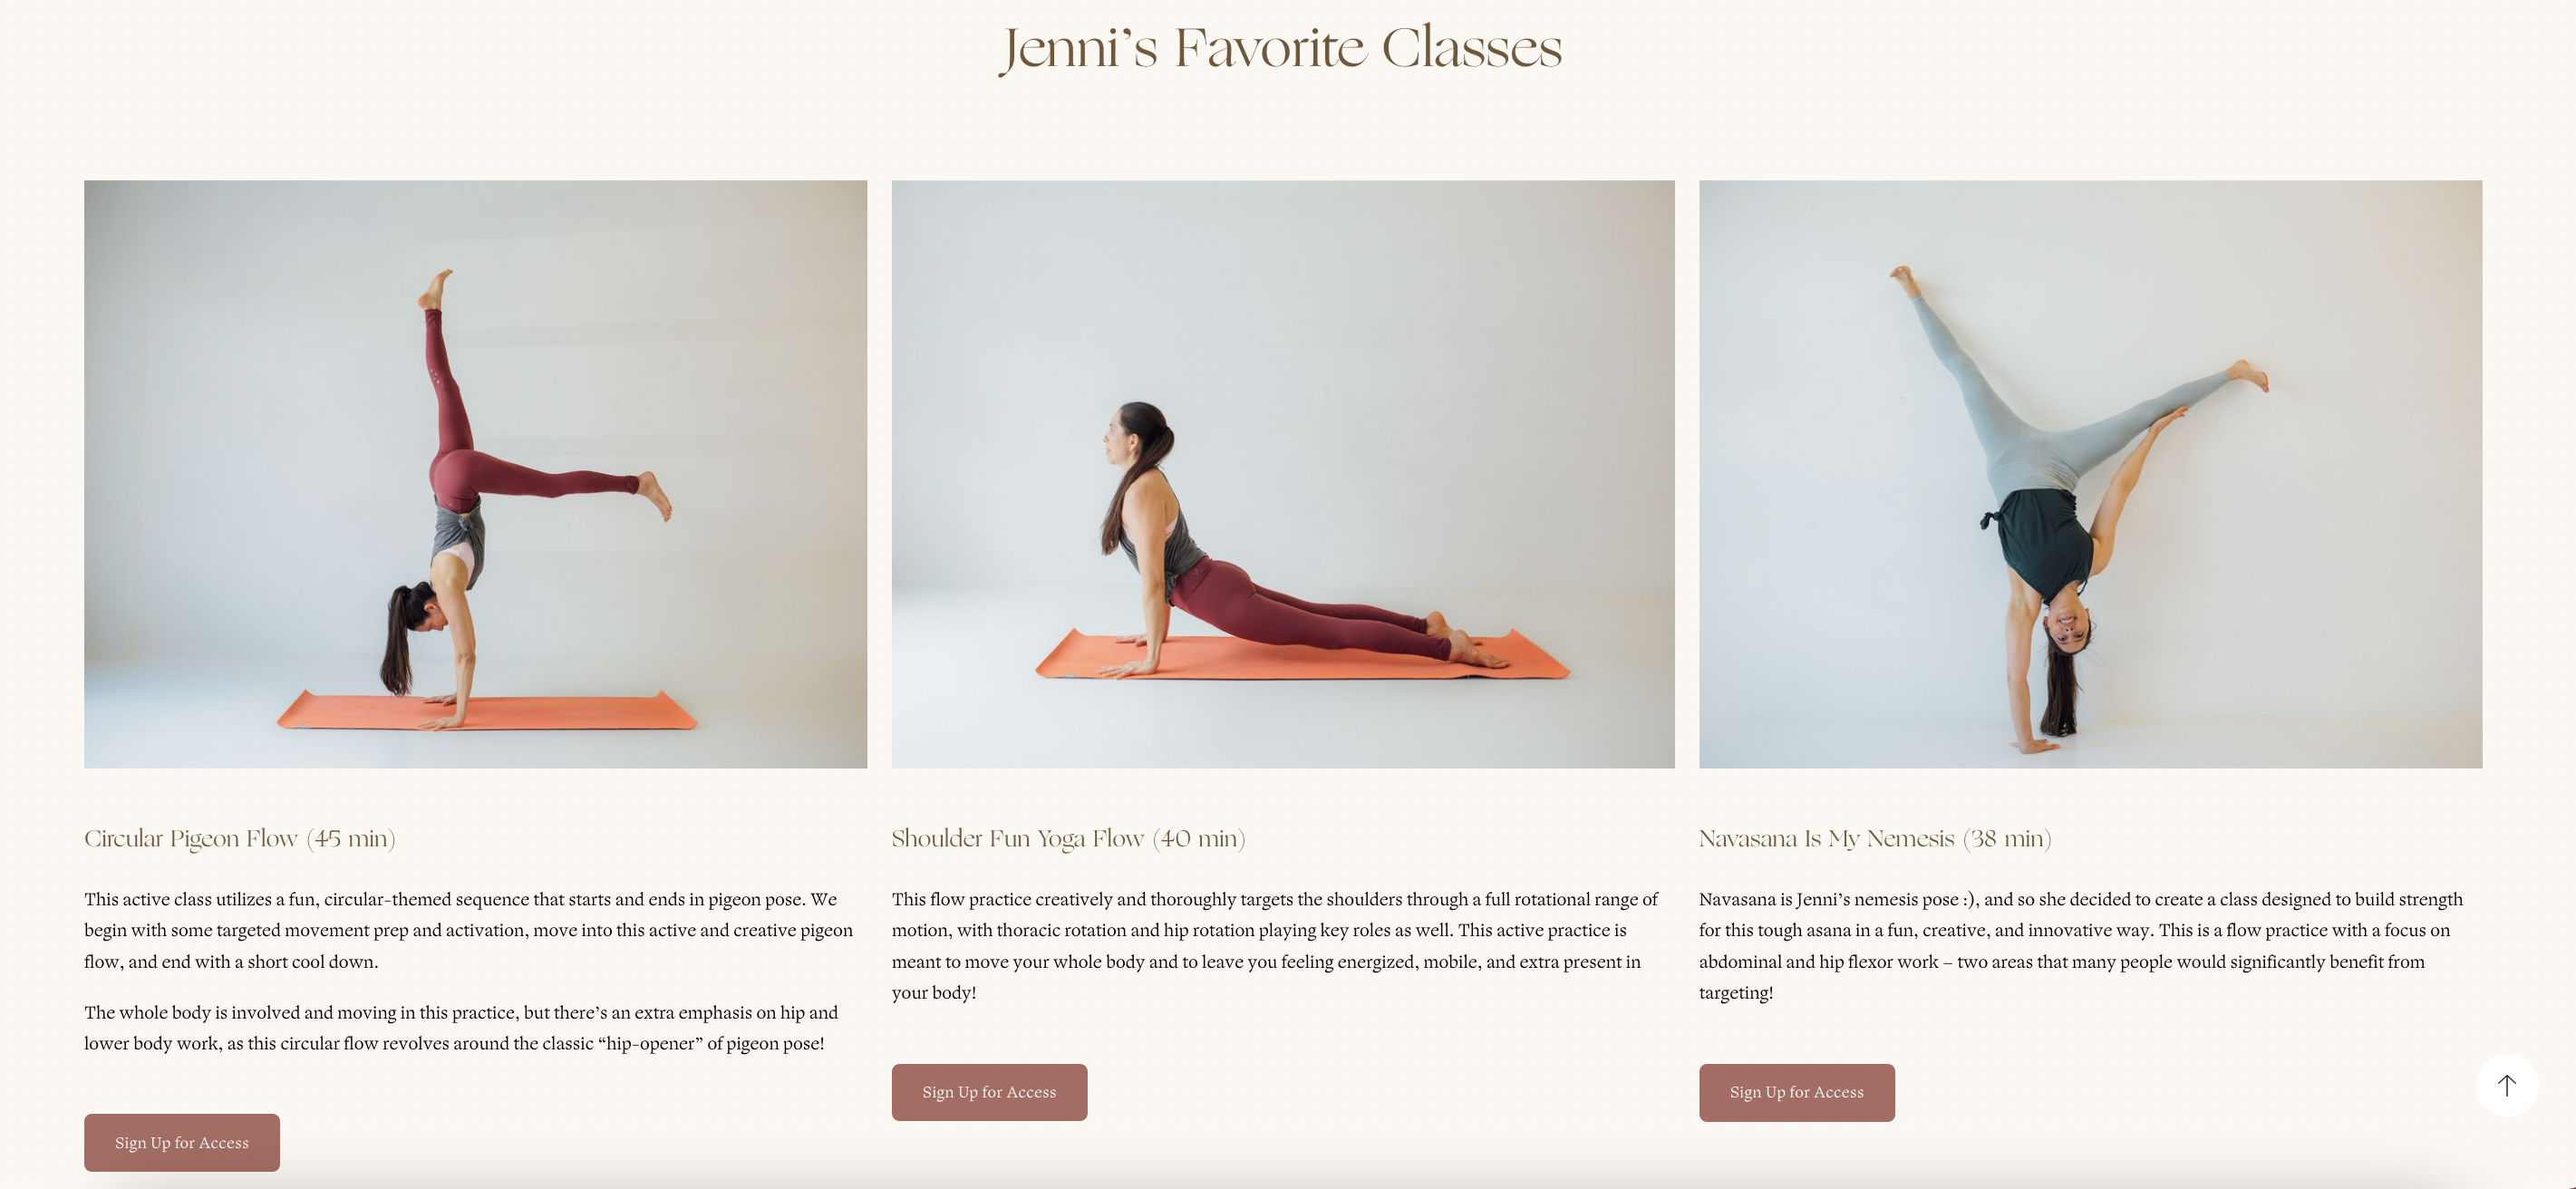
- First, add a “preview” page to your website, where you will showcase your library of yoga videos. The URL can be something like yourwebsite.com/class-library-preview/.Each class preview should include a title, an image, a short description, and a button that will link to the full class. Here’s a look at an example from MemberSpace customer and yoga instructor, Jenni Rawlings.
- Then, create a separate page for each class you plan on offering, and upload the videos there.
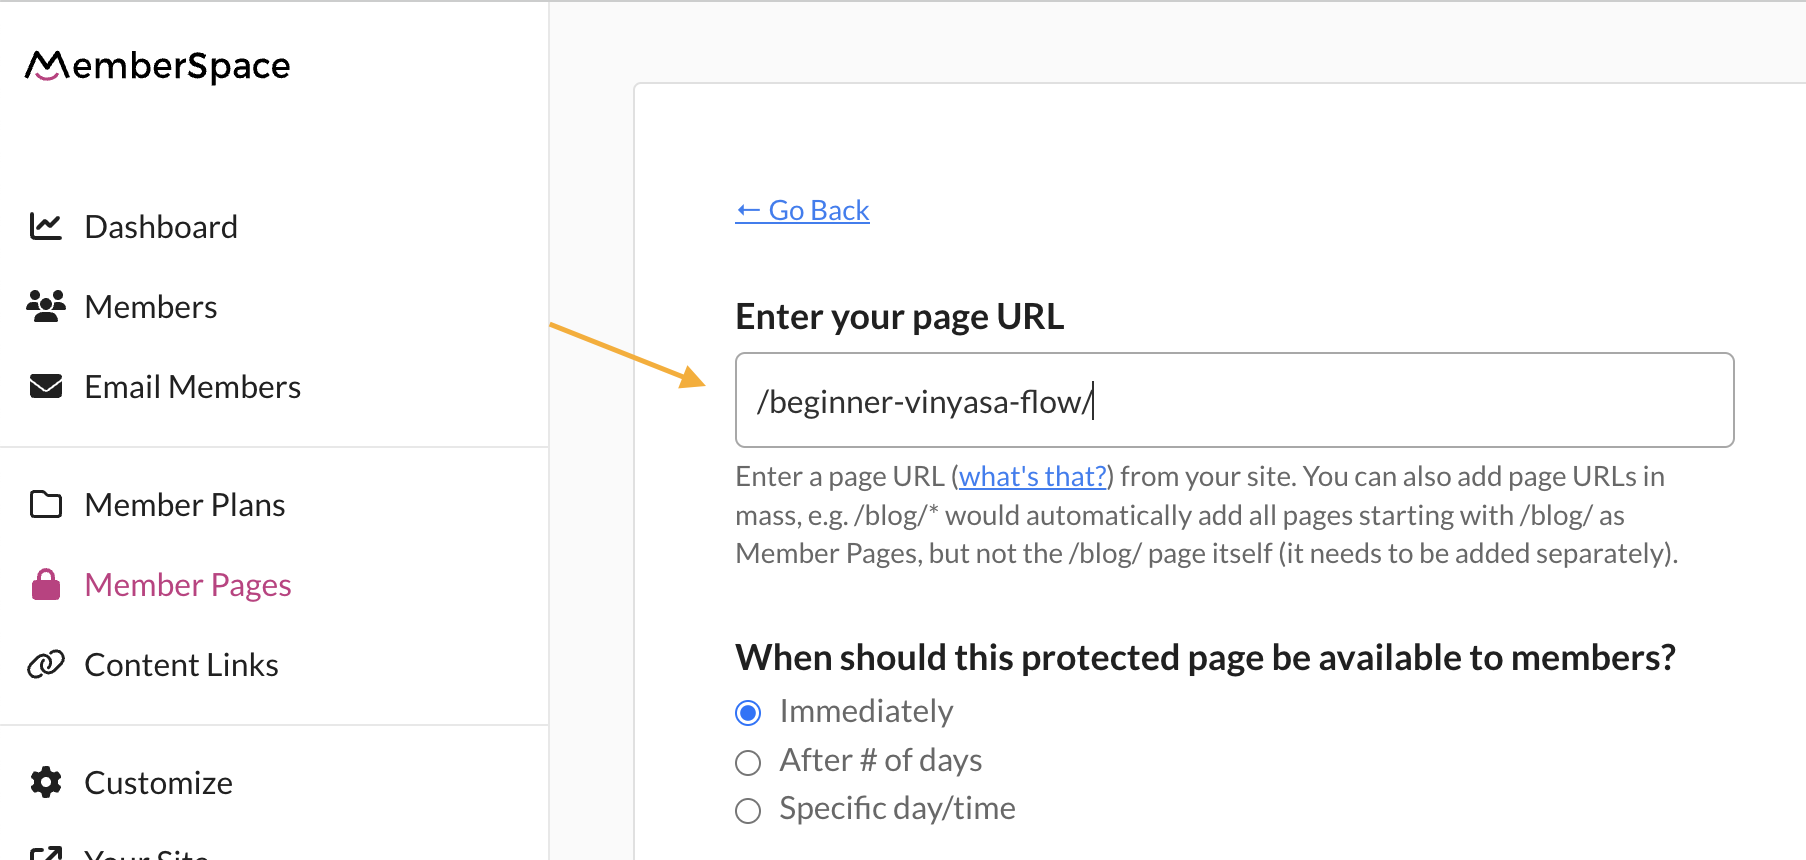
- Head to MemberSpace and restrict access to those pages, so only students who sign up and pay for your classes can see them.
- Finally, revisit your preview page, and add a link to the full class page in each button.
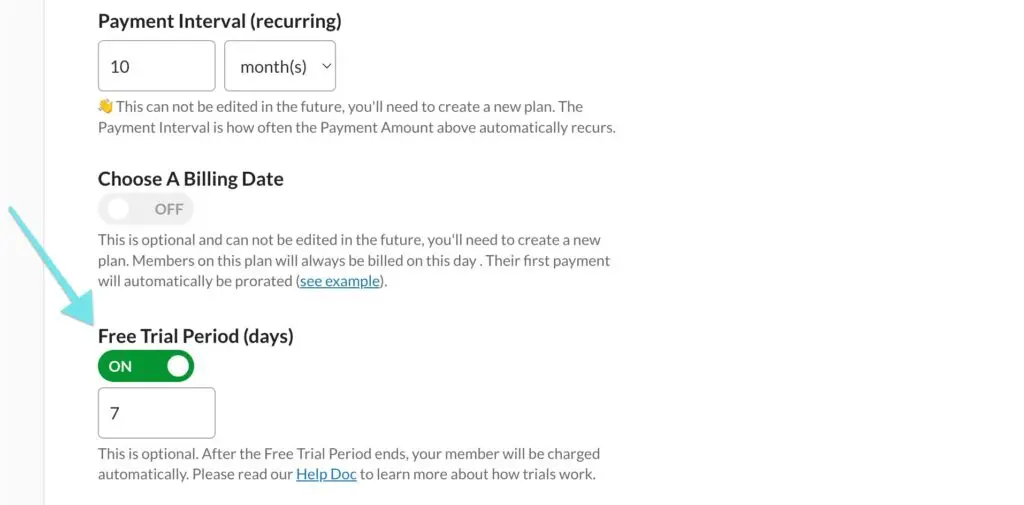
Step 4: Set a price for your yoga classes
Now that your website is ready to go, it’s time to determine your pricing. How you price your classes will depend on how you plan to accept payments. There are a few ways to do this with MemberSpace:
- Membership – This method is the most popular for our yoga instructor customers because it allows you to sell access to your class library for a monthly or annual price.
- One-Time Charge – If you’re selling access to individual classes, a one-time charge will be your best option.
- Multiple Payments – If you’re selling something higher priced, like a yoga retreat, you might consider offering the option to break up the cost into multiple payments.
- Free! If you want to offer some of your classes for free, you have the option to do so.
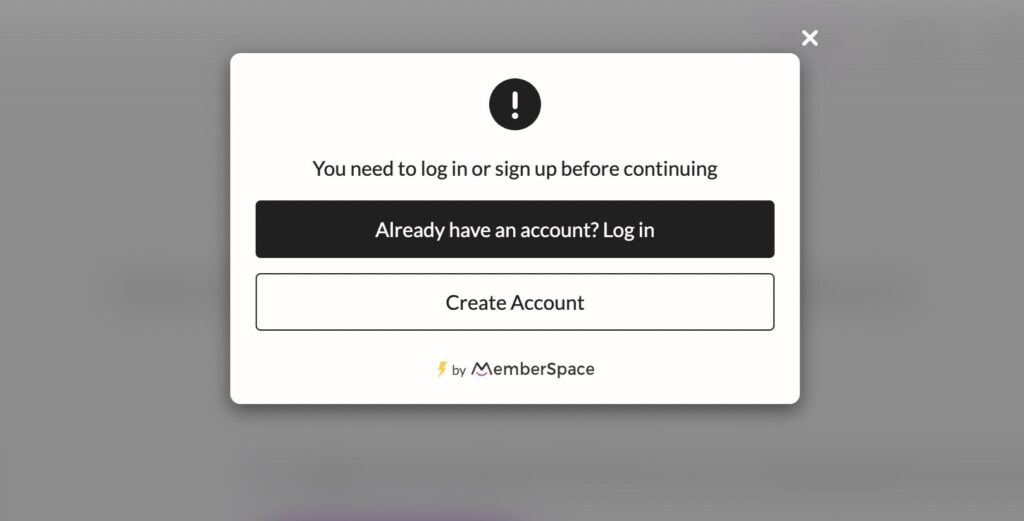
Now, when a non-customer or logged-out customer tries to view your yoga class videos, they will see this popup asking them to log in or sign-up and pay:
My Yoga Essence
Carol’s online yoga studio offers two membership options priced annually or monthly. Both plans offer access to her online library of recorded classes, but the upper tier plan has additional add-ons that make it worth the extra cost including monthly 1:1 sessions, twice monthly community circles, and exclusive discounts.

Cake & Yoga Club
From a yoga newsletter including a freebie upon sign-up to selling online courses and hosting live, in-person events, Cake and Yoga Club offers a variety of ways to engage with their audience while building an online community.

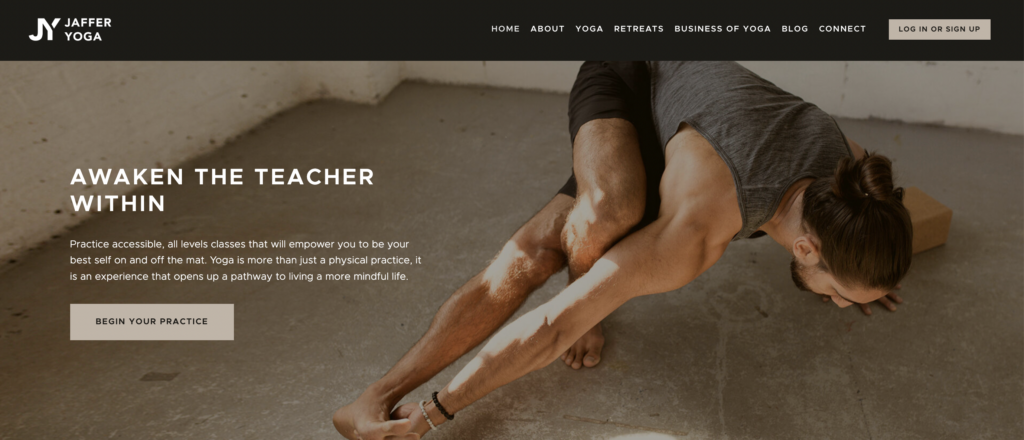
Jaffer Yoga
Creating unique offerings is the hallmark of Jaffer Yoga. Whereas most online yoga businesses stick to traditional video classes, Jaffer offers audio-only classes, allowing students a less-distracted, more meditative session. He also offers new students a free 30-day trial before committing to his monthly or annual membership.
Isabel Lankesterr Yoga

Lily Dwyer Begg Yoga
Lily has created a unique niche by focusing on specialized groups including prenatal and postnatal yoga classes as well as yoga for scoliosis and athletes. Her offerings including everything from livestream classes and on-demand classes to in-person retreats and online challenges.


Need help with your yoga business?
Connect with our friendly team, weekdays 10am - 6pm ET.
Let's chat!