Connect MemberSpace to any 3rd party community platform.
This guide will show you how to setup a private, member-only community.
Build a members-only community:
- Choose a community platform like Circle or Facebook Groups
- Connect your community platform to MemberSpace
- Set a price for access
- Add the signup link to your website
Build a members-only community
Step 1
Choose a community platform
There are various private, interactive forums where your members can have threaded discussions among each other and with you or your team.
MemberSpace offers a single sign-on integration with Circle, a popular community platform for discussions, live streams and chats. The single sign-on integration means your logged-in members will be automatically logged into your Circle community and not have to create a new account to be granted access.
Or, you could host your community on another platform that works well for your audience, like Facebook Groups (a convenient option for many members, who already have accounts there).
Step 2
Connect your community platform to MemberSpace
Once you’ve set up your community, your next step is to connect it to MemberSpace.
To do this, you’ll create a product, add the link to your private community (e.g. Facebook Group, Circle Space, etc.), and include it within your Member Menu so members have easy access.
Circle (single sign-on)
If you’ll be using Circle for your community, you’ll set up the integration after creating a plan in step 3 below. This provides your members single sign-on access to your Circle community.
Facebook Group
If your community will be hosted in a Facebook Group, be sure the group is private and you’ve enabled manual approval. Once members sign up for your plan (step 3 below), they’ll be able to request access to your Facebook Group via the link in your Member Menu. You can then approve new requests as they come in.
If you don’t plan to use the Member Menu, you have two alternative options for adding new members to your Facebook Group:
- Add your Facebook Group link to a members-only page on your website; have members request access via that link, and approve new requests as they come in.
- Manually invite new members who sign up for your community.
Other
If your community will be hosted on another platform, follow the Facebook Group steps above.
Step 3
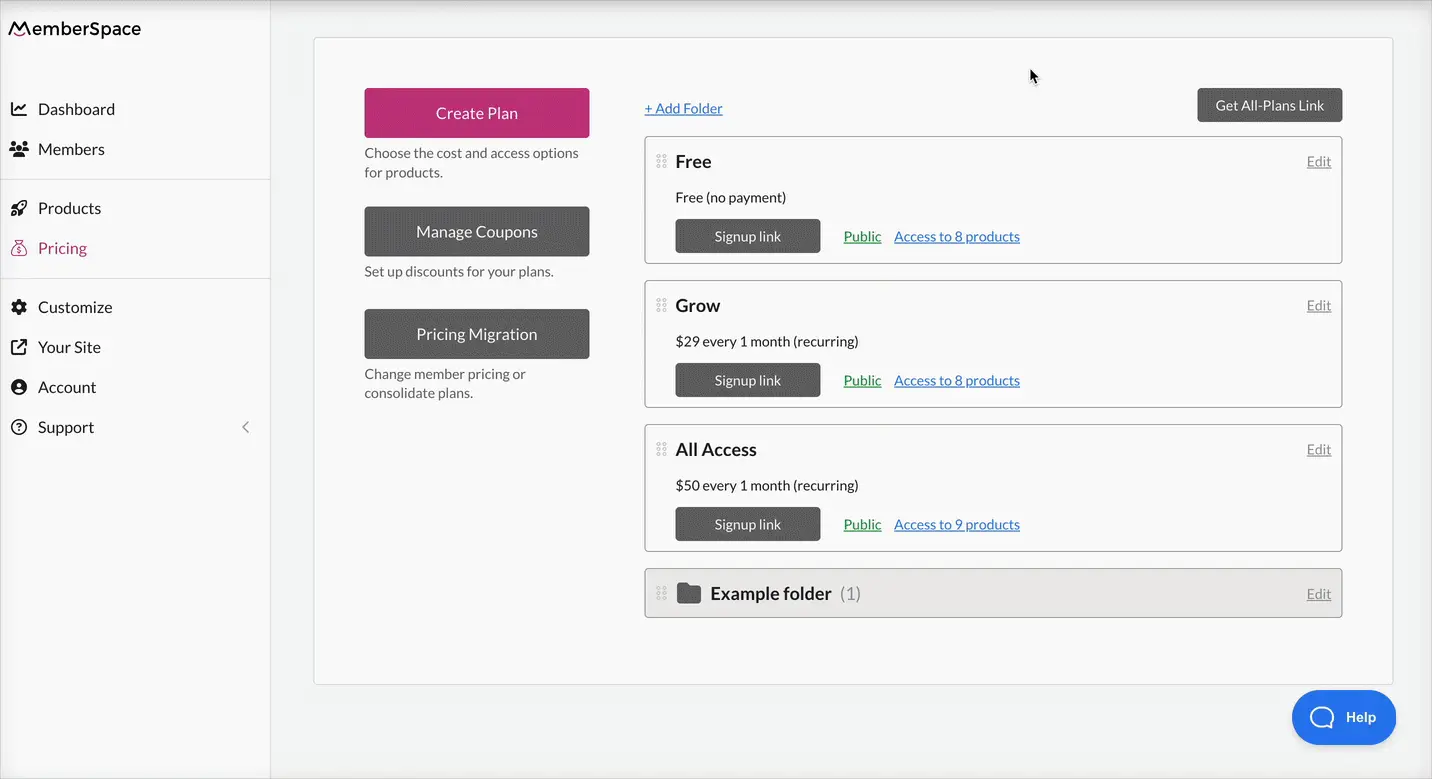
Set a price for your members to join
If your community access will only be available to members of an existing membership plan, simply add access to the product within any plan’s settings.
If you’ll be selling direct access to your community, you’ll create a plan that gives your members access!
MemberSpace offers flexible payment options so you can choose the billing format that works best for your needs:
- Recurring payment (e.g. $100 per month)
- Multiple payment (e.g. 3 payments of $100)
- One-time payment (e.g. 1 payment of $100)
- Free (no payment)
Communities are often sold via recurring payment (aka a subscription), which means you’ll collect ongoing payment for providing your members ongoing access and value.
If you offer other digital content in addition to your community, you can sell different tiers of access by creating multiple plans and differentiating which plans have access to the higher-tier content.
If you’ll be using Circle for your community, follow our simple steps to set up your single sign-on Circle integration with MemberSpace. Be sure to select the plan you just created within the Circle integration settings.
Step 4
Add the signup link to your website
If your community access will only be available to members of an existing membership plan, simply add access to the product within any plan’s settings.
To sell access to your community, add the signup link to your website by copying your plan’s signup link via the gray button next to your plan’s name and adding it to your course sales page so that visitors can purchase access.
Inviting and approving members
New members can sign up for your community directly via your signup link. Or, you can invite members from an existing list or migrate members from an existing membership.
If needed, MemberSpace allows you to manually approve members before they can join your community.
Removing a member when their plan is canceled
If a member cancels their plan, there are two options for removing them from your community:
- Manually remove the member. MemberSpace sends you an email when a member cancels their membership, so you’ll be notified of anyone who should be removed from your community.
- Use Zapier to automatically remove the member. If your community platform permits, you can use our Zapier integration to automatically remove canceled members’ access from your community platform.
MemberSpace Resources

Check out MemberSpace University for more strategy tips, technical tricks, and other resources on marketing and selling your community.
Marketing your community
If you’ve begun cultivating an audience online, you’re already on the right path to developing a membership community.
- Post about your private community on social media channels
- Tease members-only livestreams by uploading a short preview video to Facebook or Instagram Stories
- If you already have a free Facebook Group for your audience, offer the paid community as an alternative with perks and additional access to you
- Invite your paid newsletter or private podcast members to upgrade for “office hours” and exclusive Q&A sessions
- Upsell current and former online course students on your community for continued learning
- Pair your community with access to a content library as an upgraded bundle for existing members
Starting a membership business for the very first time? Learn how to launch successfully with our step-by-step membership marketing plan guide!
You can promote your new membership community anywhere you can paste a URL — just share the link to your public landing page and watch your member count begin to grow.

Need help setting up your community?
Connect with our friendly team, weekdays 10am - 6pm ET.
Let's chat!