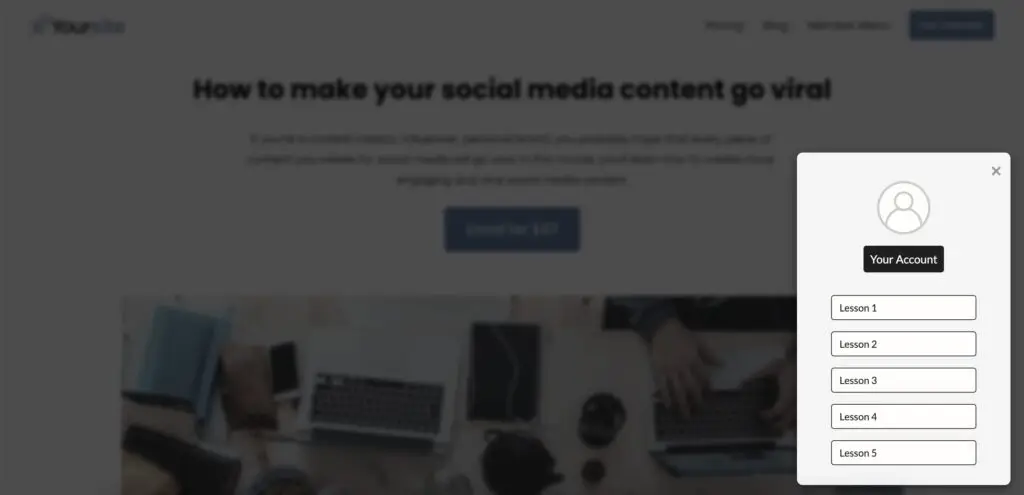
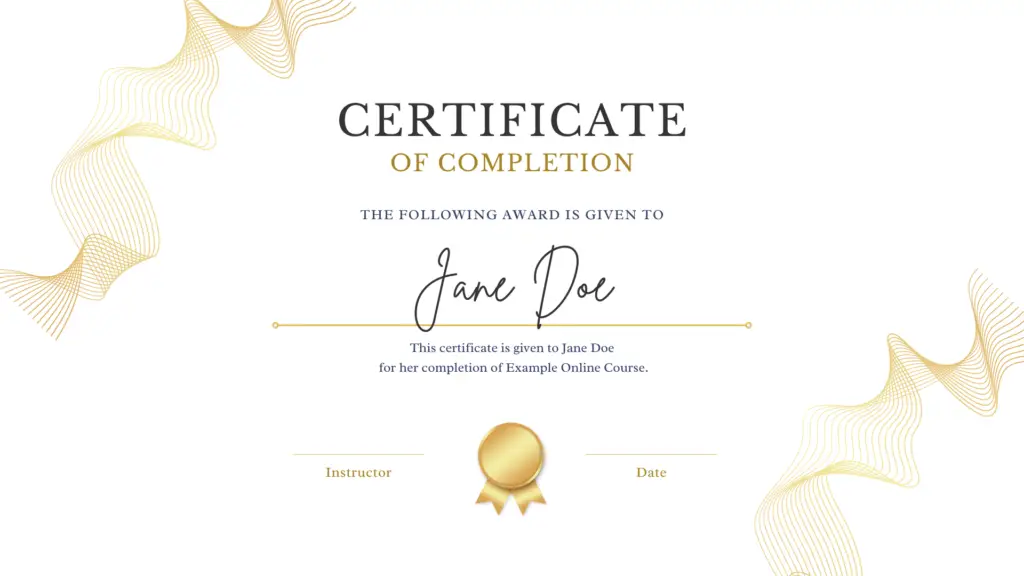
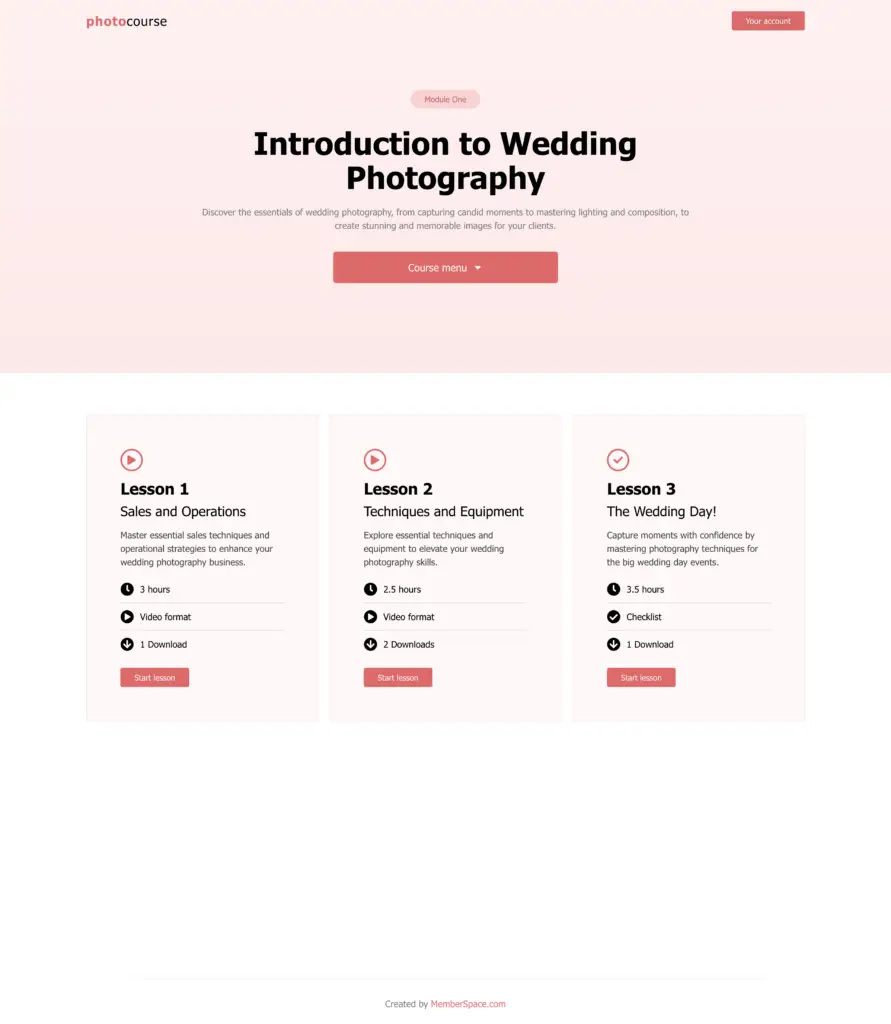
Online courses consist of modules, lessons, quizzes and certifications.
Here's some inspiration
Explore our free Online Course demo
Free Workshop
Join our free daily workshop to help you set up and launch your online course.
Launch an online course
Step 1
Choose your topic
Your course should be about one thing that you’re an expert on, with a specific result or transformation your course members will achieve from it.
It’s best to start small and build from there! You can always add more content, bonus lessons, or new courses later. 🙂
Step 2
Outline your lessons and course format
Break your chosen topic into even smaller pieces — these subtopics will be your lessons. If you begin writing out your lessons and find they’re getting very long or involved, you may need to go back to step one and break your course topic down even further!
Choose how you’d like to structure your course and what format would pair best with the information you want to share. Many digital courses contain a mix of written and video content. Some include workbooks or other downloads. Again, start small! You can always add more later.
- Canva is a free graphic design program with lots of templates for guides, workbooks, and handouts.
- Unsplash has a great library of royalty-free photos for use in your guides or promotional materials.
- Loom lets you record videos — including picture-in-picture walkthroughs perfect for sharing your screen — for free.
Step 3
Create your course pages on your website
You will need:
- A public landing page to advertise your course
- Individual lesson pages that contain the educational content
Nest these pages underneath each other, creating a hierarchy known as a subdirectory. For example:
yourwebsite.com/course
Step 4
Protect your pages with MemberSpace
After building your course pages on your website, you’ll protect these pages with MemberSpace so only members can access them. If you’ve structured your pages with the nested format above, you can protect all pages en masse.
Remember to keep your highest-level page (e.g. yourwebsite.com/course) public for new members to sign up.
When protecting each of your lesson pages, choose a title (and, if you’d like, emoji) to appear in your Member Menu — this is how your logged in students will access your course content.

🔐 Optional
For an added layer of protection, you can add our extra security code to each of your protected pages.
Step 5
Add course content to your protected pages
To add files like workbooks or videos to your course pages, simply link to private videos and documents you’ve uploaded to your website.
🔐 Optional
MemberSpace Content Links provide additional security by generating a unique URL for each of your files; these files are then only accessible to paying customers who are logged in to your course.


Step 6
Set a price for access
Now that your course pages and content is protected, you’ll create a plan that gives your students access!
- Recurring payment (e.g. $100 per month)
- Multiple payment (e.g. 3 payments of $100)
- One-time payment (e.g. 1 payment of $100)
- Free (no payment)
Courses are often sold via one-time payment. If the cost of the course may be a barrier for some students, you can also offer a multiple payment option for members to pay via a payment plan.
If you offer multiple forms of content (like a course + community), you can sell different tiers of access by creating multiple plans and differentiating which plan(s) have access to higher-tier content.
Step 7
Add the signup link to your website
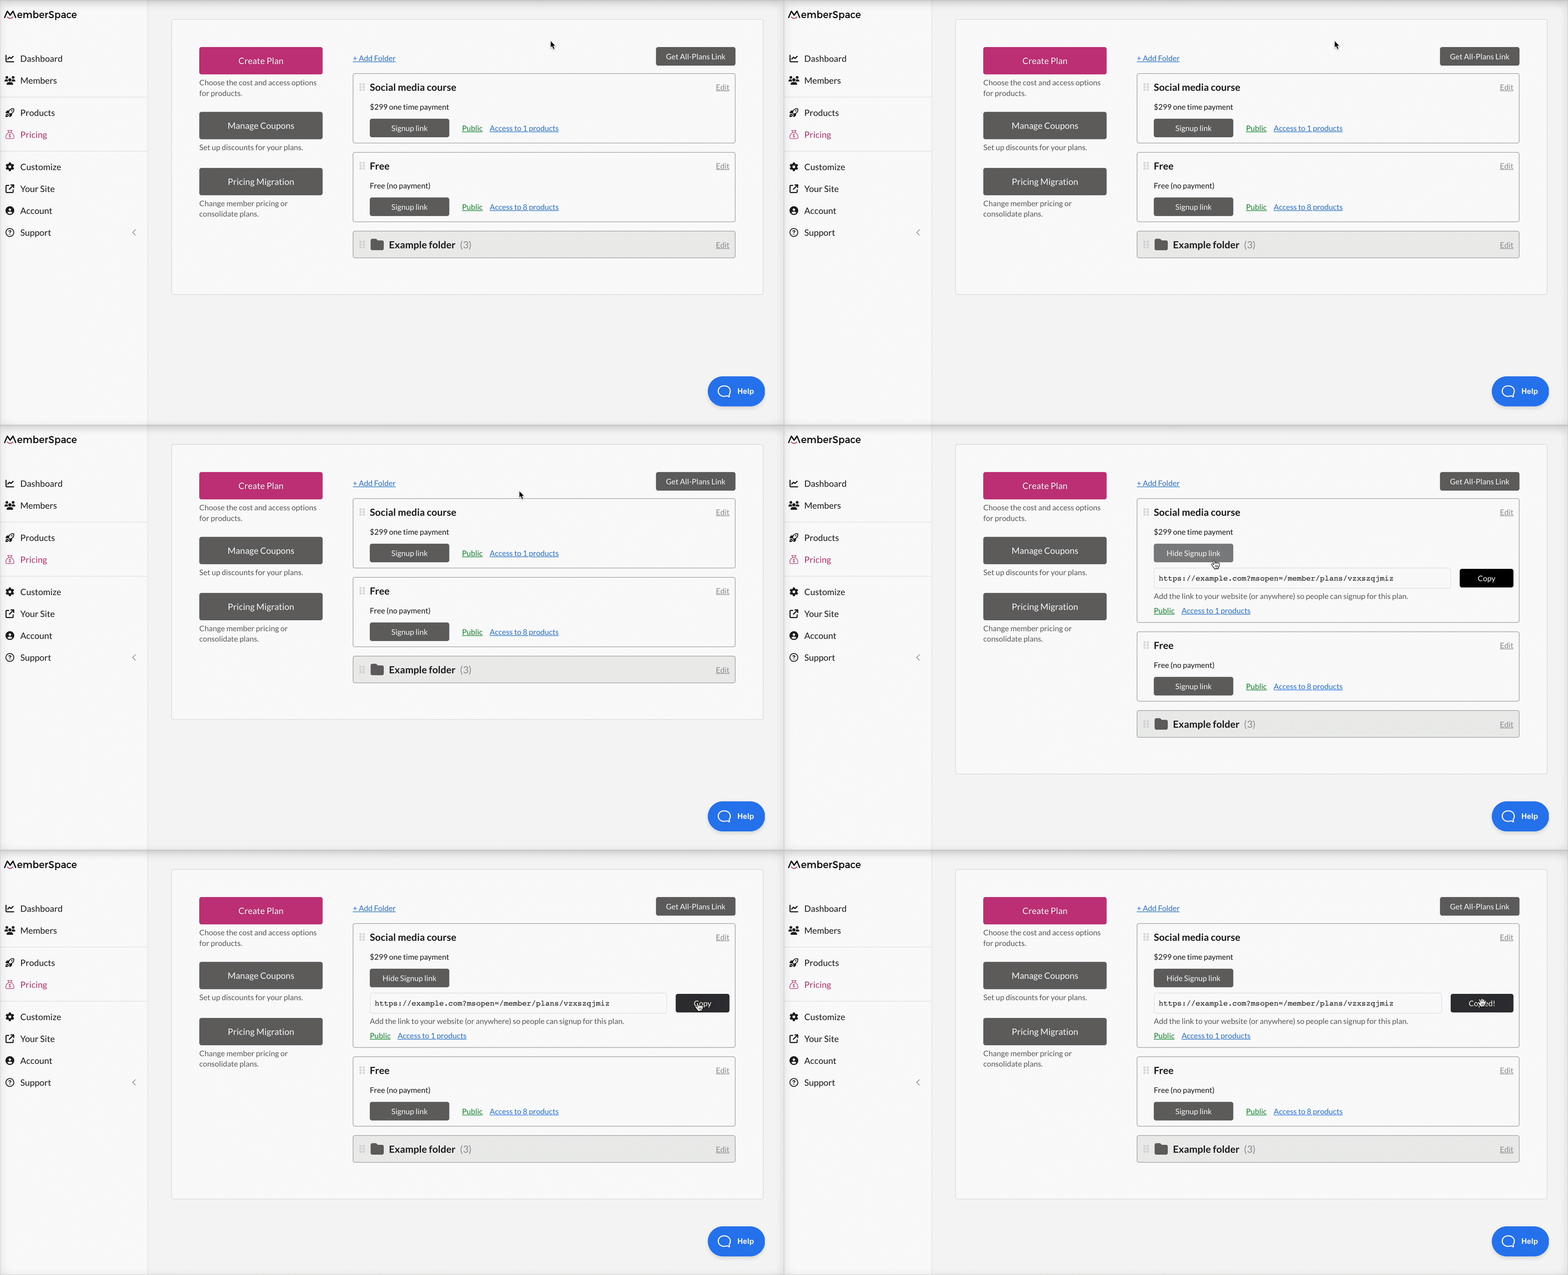
Copy your plan’s signup link via the gray button next to your plan’s name. Add the signup link to your course sales page so that visitors can purchase access.

Your course is now live! 🚀
MemberSpace Resources

For additional resources on marketing and selling your online course, check out MemberSpace University, our hub of step-by-step guides, educational videos, technical and strategy tips, and more.
Launching your online course
It’s a good idea to try out your new course pages before launching to the public. Set up a free test plan or temporary 100% off coupon and use it to “join” your course.

Need help setting up your online course?
Connect with our friendly team, weekdays 10am - 6pm ET.
Let's chat!


