Create a member-only content library in minutes

5 minutes to install on any website platform.

Create members plans, lock content pages around those plans and get paid. Building a membership business has never been easier. Set yours up now. No credit card or payment required.

No credit card required.

content library membership site and platform

How it works

Add member-only access to any part of your website and charge monthly or yearly fees for customers to access your content library.

1. Create member plans

Create free or paid membership plans and we’ll automatically unlock access to your content library. 

Sign up for free

2. Lock your pages

Lock specific content, pages, or entire sections of your website and grant access when your customers subscribe.

Let’s get started

3. Get paid

Connect MemberSpace to an existing or new Stripe account and get paid as soon as your first member signs up.

Let’s go!

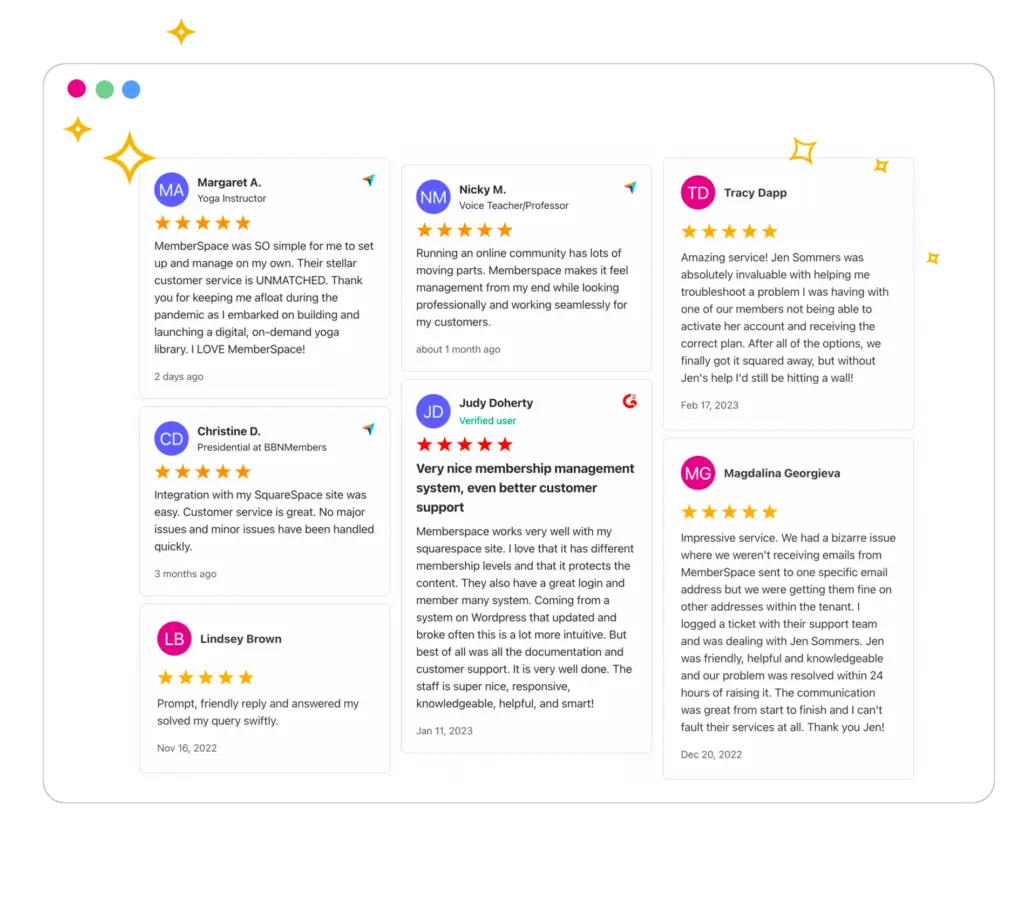
MemberSpace reviews

Read real customer reviews about MemberSpace.

Goutham B.
Read More
Ease of setting up and deployment. Set up multiple member plans and sync with Stripe for payments. Best all-in-one tool.
Kim C.
Read More
I like being able to create different member plans for different offerings with ease.
Leonardo K.
Read More
It is very simple and easy to use and equally easy to configure or change.
Previous
Next
Nick G.
Read More
Easy to use. Powerful. Automated. Everything modern software should be. (Psst... their customer support is excellent, too!)
Jodi M.
Read More
I love having control/ownership of my course content. The ability to host a course on my own site is fantastic.
Blair M.
Read More
Our company definitely has some unique challenges to overcome, and the team at MemberSpace has been extremely helpful in the problem-solving process!
Previous
Next

It’s free. No credit card required.

Why use MemberSpace?

Our software provides everything you need to launch, build and grow your membership business on any platform. Below is a list of our features and integrations.
No coding required.

You shouldn’t need to hire a developer or have technical skills to build and run a membership site. MemberSpace is a simple solution for non-technical people.

Your website, any platform.

MemberSpace works with all popular website builders. Add MemberSpace directly to your site, and easily move to a different website platform without impacting your members or billing details. See the website platforms we integrate with.

Customer service is our top priority.

Our success truly comes from providing great customer support. You can talk with us via live chat or email (under an hour response). But don’t just take our word for it, read our excellent Trustpilot, Capterra, and other MemberSpace reviews.

Migrate for free.

Migrating your membership to different software can seem like a daunting task. We make it easy, simple, and painless. So if you have an existing membership system, we’ll help you migrate to MemberSpace for free. Learn more about migrating to MemberSpace.

How to Create a Content Library for Your Membership

If you feel like you have a lot of knowledge to share but aren’t exactly sure of the best way to present it all to your audience, a content library could be just the right thing for you! Content libraries are an excellent way for creators to share their high-value resources — while also charging a premium for access.

What is a Content Library?

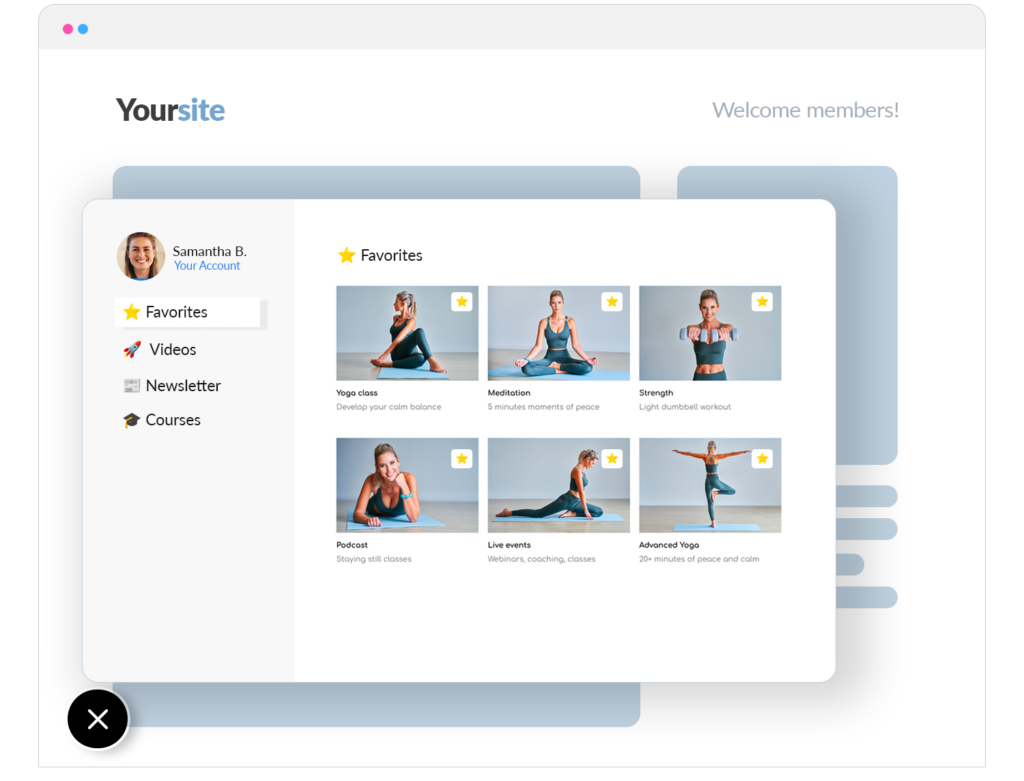
Content libraries are a repository for digital content like videos, tutorials, templates, images, downloadable guides, and printable worksheets. Rather than having each of these products residing on a separate landing page (or in a cluttered Google Drive folder), a content library allows you to arrange them all beautifully by type and function.

Who should start a Content Library?

Anyone can start a content library — really! If you’re an expert on a particular topic and have information to share with others, you can benefit from starting a members-only content library.

Creators who sell digital content through an eCommerce store or a platform like Creative Market can also benefit from creating a content library. While you may still wish to offer your products for individual sales, a content library is a better way to organize all of your members-only content in one place. 

These are just a few things that are a great fit for content libraries:

  • Social media post templates
  • Stock images
  • Business growth workbooks
  • Printable resources for teachers or parents
  • Meal planning workbooks and recipe ideas
  • Templates for graphic/web designers
  • Procreate brushes and palettes
  • Arts and crafts tutorials
  • Recordings of group coaching calls or mastermind sessions
  • Cheat sheets and checklists

What do you need to create a membership Content Library?

All you really need to start a content library is a website, a way to process membership payments, and some content to offer your members at launch!

It’s also a good idea to establish a schedule on which your members can expect new content — whether it’s weekly, monthly, quarterly, or another timeframe. The most important thing is that you can deliver on the schedule you promise, so choose whatever pace works best for you. If you already have a lot of content prepared, consider putting a portion of it on the site at launch and drip the rest out over several weeks or months while you make more behind the scenes.

Building a Content Library with MemberSpace

MemberSpace makes selling memberships (even multiple kinds!) easy — and we don’t tie you to a specific website platform. To get started, make sure that:

Step one: Build your Content Library pages

First, build the web pages you will use to advertise and manage your new content library.

Create a public landing page where people can sign up to become a member.

Next, build a “secret” page that members will see once they sign up or log in. You can choose to list every item in your content library on this page or group content into linked categories.

Listing all of your content on one page is a simple way to get started when your content library is fairly small:

As you grow, categories can make it easier for your members to navigate the site and find exactly what they want.

Each linked category page will then display a list of all the relevant content — such as one category for all your lessons, one for downloadable guides, and one for masterclass recordings.

In your site’s navigation, nest the “secret” pages beneath the public landing page. This creates what’s known as a subdirectory. It will look something like this:

  • https://www.yourwebsite.com/contentlibrary
  • https://www.yourwebsite.com/contentlibrary/welcome
  • https://www.yourwebsite.com/contentlibrary/weekly-lessons
  • https://www.yourwebsite.com/contentlibrary/masterclass-recordings
  • https://www.yourwebsite.com/contentlibrary/downloadable-guides

Step two: Protect your website with MemberSpace

Once you have your content library web pages ready to go, it’s time to protect them in MemberSpace.

Log into MemberSpace and click “Member Pages” on the left.

protect member-only pages

Click on the big pink button that says “Protect Member Pages.”

Go back to your new website pages and locate the URL that belongs to your public membership signup page. Copy and paste the entire URL, including the https:// portion. Place a closing slash and asterisk at the end:

Select when you’d like your members to access the content and click save. You will see that MemberSpace automatically updates your URL to only include the very end — between (and including) the slashes.

From now on, any time MemberSpace sees /contentlibrary/ in the middle of any URL you add to your website, it will automatically protect that content while allowing the top-most landing page free for the public to view.

Step three: Set up a Content Library membership plan

Now we’ll set up your new membership plan!

Go back to the left of your MemberSpace account and click on “Member Plans.”

Click the pink “Create Member Plans” button and select a plan type. Content libraries typically offer access for a monthly fee, so we’re choosing “recurring payment.”

create a recurring payment plan for members

Give your plan a name, price, and billing interval. In this example, we’re going to charge our members $10 every month to access the content library:

customize a recurring payment plan for member

(Not sure how to price your membership plan? Check out our membership pricing guide for examples and advice!)

Under “Which Member Page(s) Can Be Accessed?” Click the box next to the URL we added in step two:

get recurring revenue for ongoing access to membership content

Go back to your content library website and grab the URL for the “secret” page that members will see upon logging in or signing up. Paste that URL in both fields shown below, including the https://.

welcome members to your membership

Keep “Enable Plan” and “Make Plan Public” toggled on.

Click the pink button that says “Create this plan” to save.

Finally, click the gray “Get signup link” button next to your new plan’s name and copy the link.

Add the signup link to your public content library landing page so that visitors can join the plan.

If you’re already running a membership business, you can upsell your existing members on the value of your content library! You can do this by creating several membership tiers. For example, if you already have a paid newsletter membership, you can offer:

Plan 1: $10 a month for library access only

Plan 2: $10 a month for the newsletter only

Plan 3: $15 a month for library and newsletter access

(If you’re currently running your other membership through another platform, we make it easy to migrate to MemberSpace!)

Step four: Add extra protection with Content Links

As you add new content into your library, you can upload it directly into your CMS or use MemberSpace’s Content Links feature for added protection. Similar to how you protected entire pages in step two, MemberSpace can add a second layer of security to your files and video links. While this is not required to use MemberSpace, it’s an excellent way to make sure that your content remains for paying members’ eyes only!

Content links also allow you to set specific access dates, making it a great way to drip content out over time.

To use Content Links, click “Content Links” on the left.

protect member-only content with secure Content Links

Next, click “Add Content Links.”

Drag and drop any PDF or image files into the middle of the screen. Using video in your content library? No problem. Just click the “Add Videos” button and paste a link to your video content on either YouTube, Vimeo, or Wistia.

When you finish uploading, you’ll see a list of all your protected content. Click on “Edit access” next to a file name.

On the next screen, indicate if the content should be available now or in the future, and select which member plans have access (various file types will have different settings.).

Click the pink “Update Now” button to save. Repeat this process for all of your new Content Links and click “Done Uploading” when finished.

You’ll now see a list of all your active content links. Click “copy” to grab a special protected URL.

Place this URL on your content library web pages wherever a user should click to view or download the protected file.

Marketing your content library membership plan

Congratulations on completing your brand-new content library membership plan! Your new library is full of value for your members — offering them a sneak peek via a free trial or sharing a coupon code can be a great way to show them how they’ll benefit from access.

You can promote your content library anywhere you can paste a link — share your signup page URL in emails, social media bios, video descriptions, and more. Not sure where to start? We put together a whole membership toolbox full of useful software and services you can use to market your new membership plan, track sales, and even create promotional graphics.

Share your content library landing page with us on TwitterFacebookLinkedIn, or in the MemberSpace community. We’d love to see what you create!